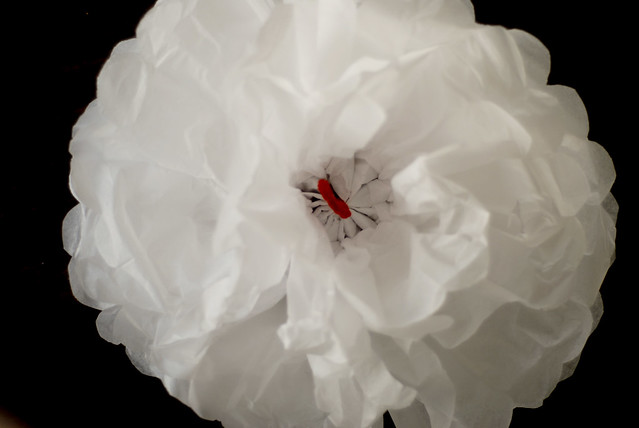
pompom tutorial
i have made these pompoms soooo many times that i could make them in my sleep (if i ever got any. thanks, sully). but for those you who havent had the pleasure of making one of these tissue paper treats.... here you go.
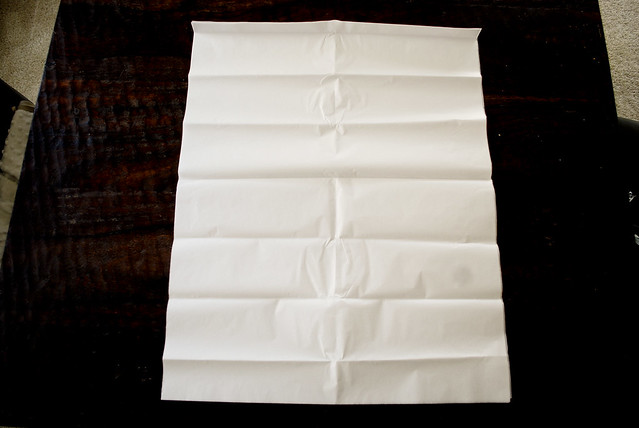
1. layer eight to ten sheets of tissue paper on top of each other and place length wise.
2. make 1 1/2-inch-wide accordion folds. press down on each crease to make distinct folds.
3. find the center of the folded tissue by folding the stack in half.
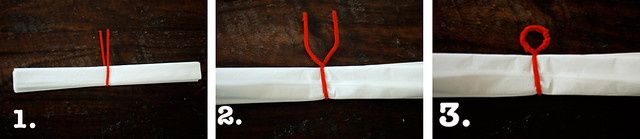
4. a)fold a piece of thin wire (i thought a pipe cleaner would show up better for pictures. and it worked just as well) around the center of the tissue paper. b) twist the wire tightly to secure itself around the tissue. c) bend the extra ends of wire into a ring. (this will make hanging the tissue ball a breeze)
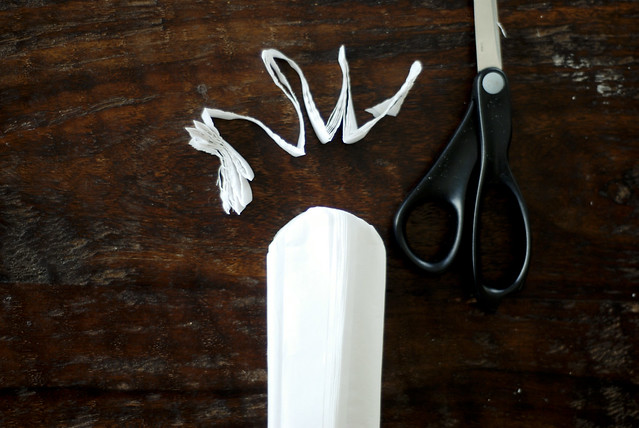
5. with some pretty decent scissors, trim both edges of the tissue stack into rounded (or pointy) shapes.
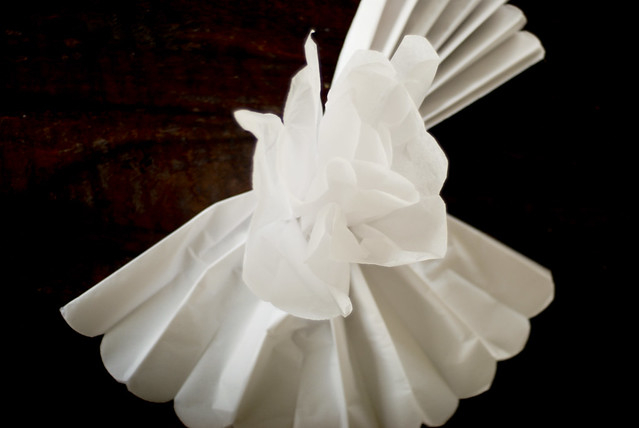
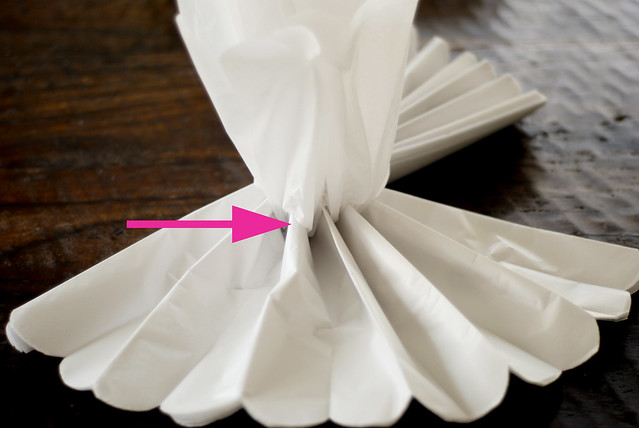
6. placing the wire ring face down, start pulling the layers towards the center, one at a time. pick one side and finish it all before going to the other half.
the key to a perfect, full tissue pompom? pulling each layer as tight to the center as possible.
this is after pulling one side.
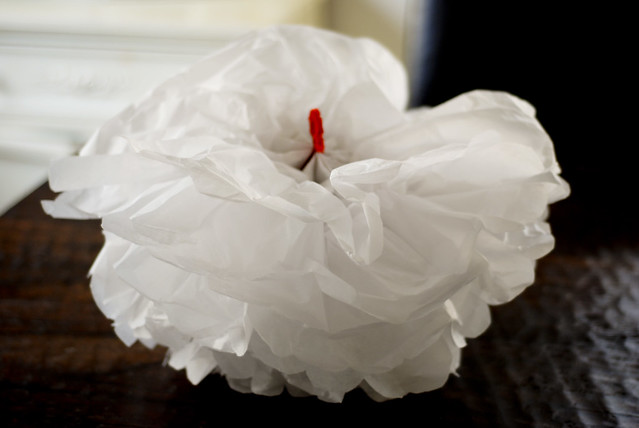
pull the other half towards the same center (dont try to pull the other half in the other direction to make a ball. the ball will come after you have fluffed). this is what it will look like after pulling both sides. notice the unsightly :) flat top....
its because the top layers need to be pulled in more tightly to the center. this is before (the flat top)
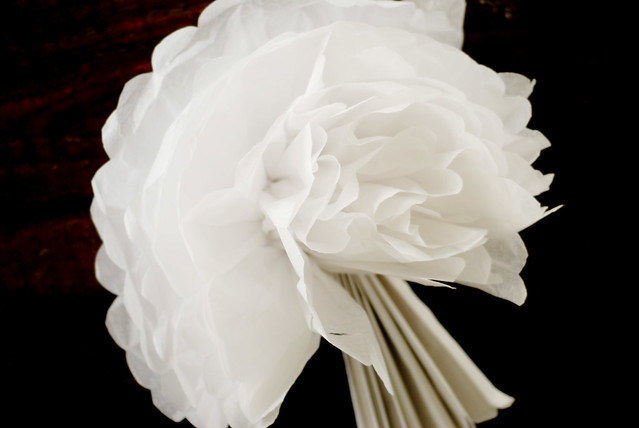
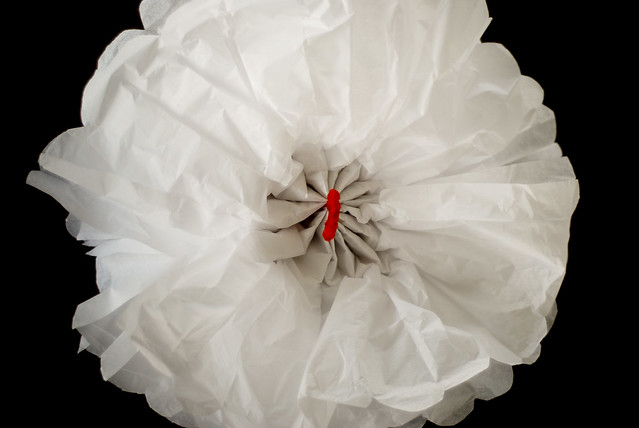
and this is after the top layers were pulled up and in, making a full pompom.
feel free to fluff up the layers to make the pompom look round and full. but to be honest, the less man-handling, the better. and finally, tie a piece of fishing line to the wire ring to hang.
there. now you can fill your life with tissue pompoms.